Watercolor Sketches

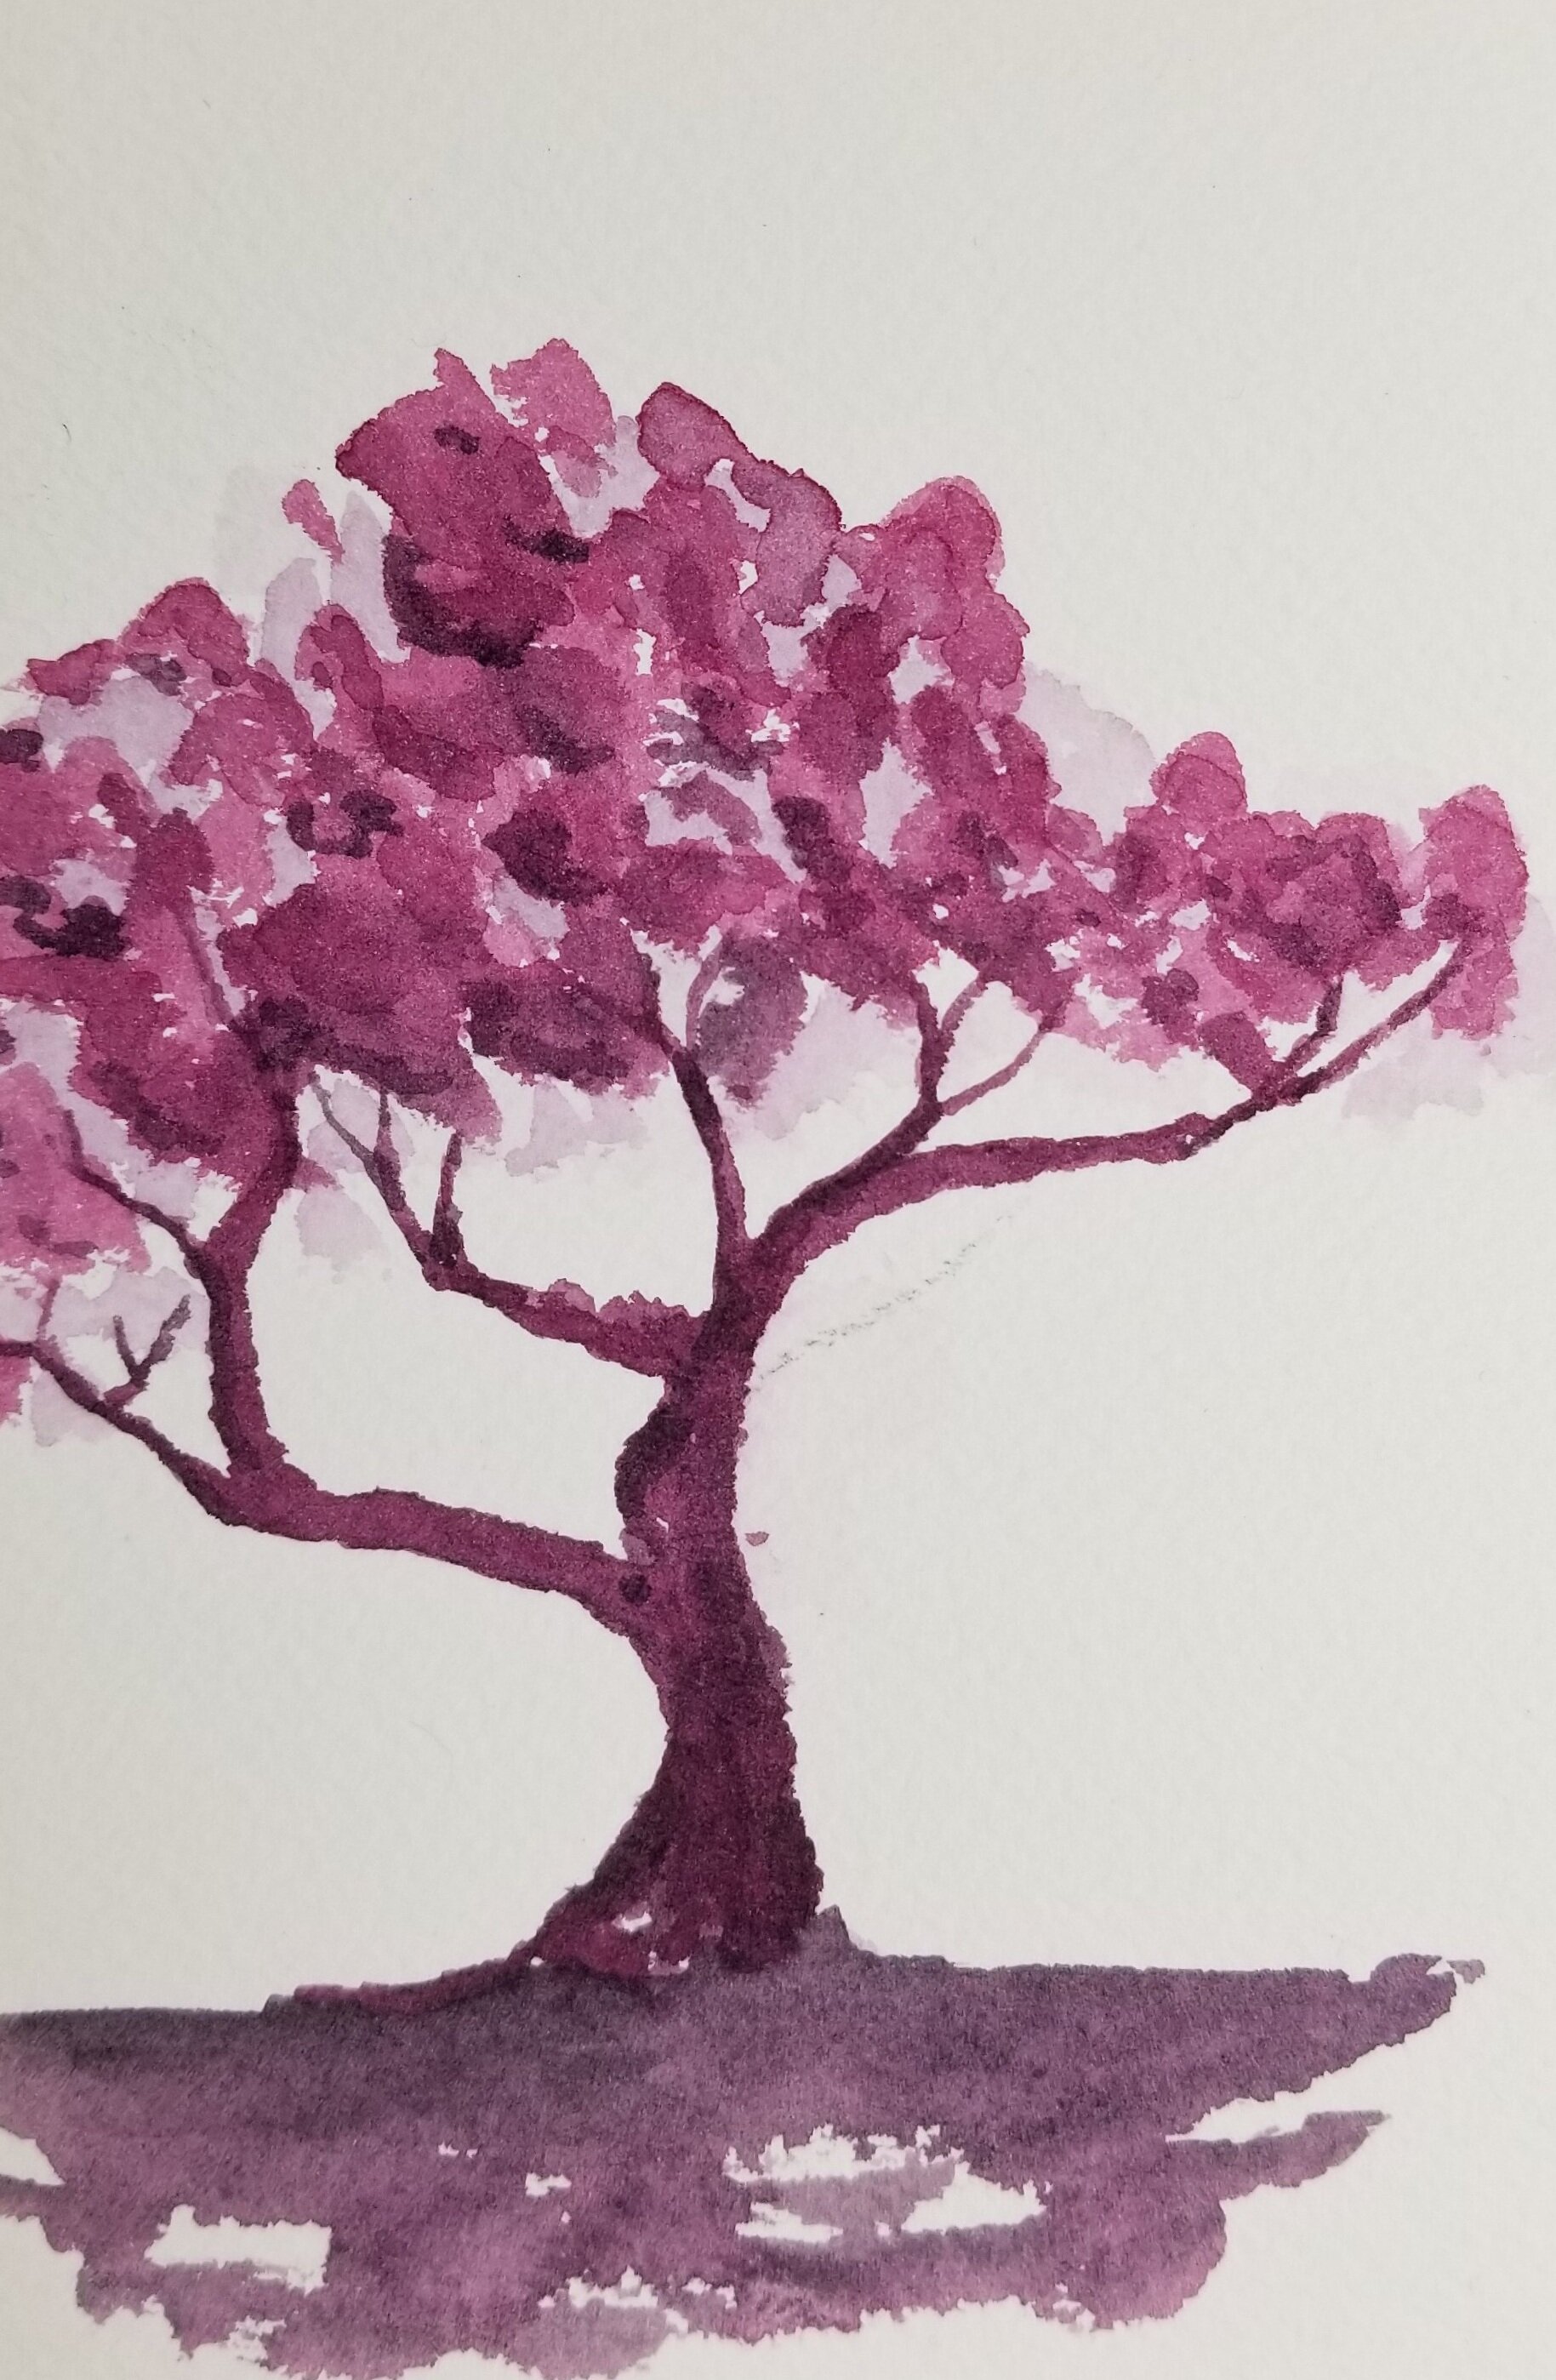
It has been a long time since I’ve updated my blog, but I have been painting, even more so than usual so I’m going to try and get caught up uploading them. The other day I decided to do some small loose sketches since I haven’t painted smaller than 11x14in in a while and its refreshing to paint on 4x6in and its even challenging to work such a small space. I painted a pear which turns out to be a page on Instagram of a pear trying to get 200k likes so ill @ him when I post it on insta. The next is a bonsai tree that’s part of a long series of freehand sketches. And the last is a very loose cityscape that is inspired by Winslow homer and Sargent two watercolor artist that inspire me.

20200121_204031.jpg
bonsai.jpg
loose.jpg

Ocean Ride

Since I don’t have any art project in the works, I’m writing about my bikes rides for a while. This weekend we’re on vacation in North Carolina about 27 miles from the ocean front and decided to take a ride down to the beach and go for a swim. The entire ride was on small one-foot wide shoulders but there weren’t any rumble strips so it was easy to get used to riding just to the right of the white line of the road. Justin almost gave up but he made it. I averaged 14.5 miles per hour with a top speed of 30 mph #hillbomb

Bike chilling on the beach, shot on Samsung Galaxy s8

Bike chilling on the beach, shot on Samsung Galaxy s8

Testing the Gas Burner

Finally I’ve gotten the gas burner in the mail from Laguna Clay. Its a venturi burner meaning that it works on gas pressure to draw in the proper amount of air for burning controlled trough a choke. when it came in the mail I couldn’t wait to test fire it, as soon as i opened the box and picked up that 11 lb monster of a burner. in the photos the burner is running at 15 PSI about half way turned up and putting our about 355,000 BTU just an insane amount of heat. The entire tool shop was heated up in just a few minutes pretty impressive since it was about 25 degrees on that day. over all the test fire was a success and will be used in the final kiln design parried with a 100lb propane tank so it wont freeze up while firing.

8ft flames shooting from the burner

8ft flames shooting from the burner

low pressure hose, from left, high pressure regulator, venturi B-4 burner

low pressure hose, from left, high pressure regulator, venturi B-4 burner

2 PSI reduction flame

2 PSI reduction flame

Watercolors

A bonsai tree I water-colored the other day it didn’t take long to lay all of the color down but in the end looks really nice. letting the water just fall onto the paper has a nice look being careless but precise at the same time. Ill be painting many more of these.

Bonsai tree watercolor 2019

Bonsai tree watercolor 2019

Toucan Watercolors

I dont have any reason other than the fact that toucans are cool colorful little birds that are easy for me to paint. I guess it was a good practice in mixing power colors like bright orange, green and vibrant red.

Toucan Watercolor 2019

Toucan Watercolor 2019

Watercolors just finished

this is a nude figure i painted in class the other day. its an upper level class but still got some reactions like come on were art majors we have all taken the class where you draw naked people for two hrs straight everyday for like six months.

nude figure model unknown (source Fackbook)

nude figure model unknown (source Fackbook)

More Watercolors

This is my third and fourth assignments for watercolor. The first is a giraffe eating from a high branch. Here I am still getting a hold of hew that water and pigment works with the paper and how that affects the wash of the water color. The paper I am using is Canson watercolor paper 140LB and to me the paper just does not absorb the water right. I put the brush down and anything more than a little bit of water pools at the surface making it hard to do large washes of color like in the sky. The second water color is a twilight scene that shows the milky way in the very early hours of rising. For this painting I used Arches Watercolor paper 300LB cold press this paper is about as thick as a piece of foam core or mat-board; when you put a wet brush to it the paper just soaks up all the pigment from it. This truly is the best paper I use even giving Canson a shot since its half the price. The next paper I will be trying is Strathmore 400 140LB paper to see if that could be an alternative to Arches 300LB paper.

Giraffe Water color 2019

Giraffe Water color 2019

Nights Sky 2019

Nights Sky 2019

Watercolors

This is my watercolor technical sheet its our first project in watercolor class. The objective is to make a color wheel while only using the primary colors to make every color. We’re going to do this a few times over the semester to practice technical skills. The next is a water color of Monster Cats 014 album cover only to practice inking along with water color sort of a water color sketch by classic water color definition. For class I’m going to up load two water colors a week at least and ill finish off with four 22x30in water colors.

Watercolor technical (color wheel, grey scale, color intensity scale)

Watercolor technical (color wheel, grey scale, color intensity scale)

Watercolor of Monster Cat 014 album cover

Watercolor of Monster Cat 014 album cover

Final Render

This is my final render of my blender doughnut. So, there are not sprinkles sad face but, trying to figure out the hair simulation to place the sprinkles was troublesome for me so further work is needed. Another reason this is my final render is that early on I made poor choices on how I made my assets. In blender you have a few things that control how smooth an item its poly (the actual object) and filters you can use to edit that object. So basically, I made the poly of the glass plate really high to get rid of some artifacts that could have been fixed by render settings the problem is that to change the poly I would have to get rid of the object and rebuild it. That’s not impossible but would take a lot of time so I’m just going to move on and do some other things that I want to do. Learning is the important part of following this tutorial.

dough nut render 2018.

dough nut render 2018.

Blender Tutorial

Over the past week I have been following a tutorial by Blender Guru. The reason I chose his tutorial to follow over some of the others out there is that Blender Guru has good working practices like teaching non-destructive workflow which can help your working and editing work flow. If you’re in the final stages and must make a small edit a destructive work flow could cause you to remodel your entire project causing you to waste time. Also, his tutorial is open, he makes you do your own work which help you remember how to do things and when you encounter a problem solving it on your own is a good way to learn problem solving something you need at every point of your life not just in art.


The idea of making a doughnut sort of still belongs to Blender Guru but at every point I could I choose a different thing to model from like the cup is modeled from a different photo with a different shape. Second the plate is modeled from one in my house and a textured as glass rather than ceramic in the tutorial. So, this is an unfinished rendered image and hopefully next week ill have a finished render to show off.

render 7 .png

4K 3D render from blender.

Film Photography

This year at Brescia I was able to visit Russ Young in Floyd Virginia to expand my knowledge of film photography and learn how to make prints in the dark room. While I was there I seven rolls of film and made four or five good prints. The process is simple put chemical A on paper then B then C in that order for the right amount of time, but i wanted to understand more and know how to pick chemicals out on my own. I decided on D76 as the developer, stop bath, Fixer, and Dektol all Kodak brand chemicals because they are still being made and easy to find. The film I use is Tmax or Tri-x both black and white Kodak films. The main thing you need for making prints is an enlarger, its a device use to enlarge smaller 35mm film to as big as 16in by 20in prints. Using an enlarger is not an easy task it you need to follow directions that arn't always straight forward i wont try to explain it but you have to set the contrast filter inside of the enlarger to print on certain grades of paper. After learning all of this i got the dark room at Brescia working and started making prints there and I plan to continue after i can afford more chemicals, paper and film. 

Russ Young in the Floyd Country Store 2017.

Russ Young in the Floyd Country Store 2017.

Russ Youngs dark room. 

Russ Youngs dark room.